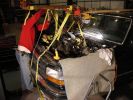
Pulling the engine11432 viewsRemoving the 460cui gas engine. (Having a forklift really made this easier.)
All 762 pounds of it!
|
|
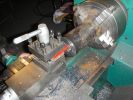
Starting the 1st version of the Motor Coupler4960 viewsHere we are starting work on the first version of the coupler to connect the 2 Impulse 9" motors.
This is going to be a single piece coupler that press-fits on both shafts.
|
|
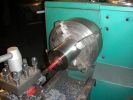
Boring the hole in the motor coupler2635 viewsHere we are boring the hole for the motor shaft. 1/2 the hole has to be a larger diameter since it's coupling a tail shaft to a main shaft.
|
|
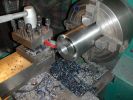
Finishing the coupler2571 viewsHere we are putting the step in one end of the coupler so it can fit down into the end-bell of the motor.
|
|
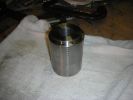
Finished Coupler3702 viewsThe finished coupler. (Well, I did have to have 2 keyways cut into it, and drill some holes for set screws after this.)
|
|

Position motors10552 viewsMotors were mounted to the transmission, then lifted in from below.
Transmission was then bolted to it's mounts, and the motors placed on blocks to keep everything in position
|
|

Building Motor Mounting Framework9594 viewsWe decided it was easiest to juts build the motor mounting framework in place. Carefully cut pieces and clamp them in place, then tack weld it all together.
|
|
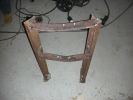
Completed Motor Mount7836 viewsThis is the motor mounting framework, after all the welding was complete.
|
|
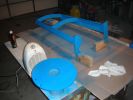
Painted Motor Mount8025 viewsI then sandblasted it all ,and painted it.
|
|
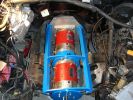
Motors Installed8921 viewsEverything is in and bolted down. The framework is mounted to the original rubber engine mounts that used to support the 460cui Gas Engine.
|
|

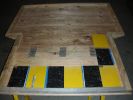
Battery Box Bottom10155 viewsThis is the bottom of the battery box. It is 3/4" plywood with a 2x2 edge frame.
The colored boxes are pieces of plywood cut to the size of Golf Cart batteries.
|
|
9646 viewsThis shows how there will be 6 batteries across at the back. (there are 8 across at the front)
|
|
|
|