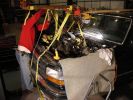
Pulling the engine11367 viewsRemoving the 460cui gas engine. (Having a forklift really made this easier.)
All 762 pounds of it!
|
|

Motor-Motor mount ends3194 viewsWe started with some scrap plate steel from the local recycle place.
|
|

Motor-Motor mount body2325 viewsAnd a piece of old iron pipe from the same place.
|
|
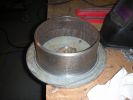
Motor-Motor mount rough2452 viewsHere is the mount after some work in the lathe on both the raw pieces.
|
|
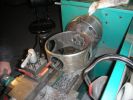
Motor-Motor mount access holes2442 viewsIt was interesting putting the access holes in the mount.
|
|
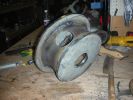
Motor-Motor mount welded2217 viewsHere is the mostly finished mount all welded together.
|
|
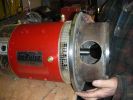
Motor-Motor mount test fit2578 viewsHow it fits on one of the motors.
|
|
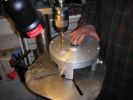
Bigger holes in the Impulse 92147 viewsWe decided that the rather small bolt holes in the end bells of the Impulse 9" motors were just too small.
So we drilled and tapped all of them out to a 7/16" bolt thread.
|
|
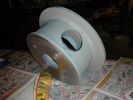
Motor-Motor mount drilled2374 viewsMounting holes drilled and primer applied.
|
|
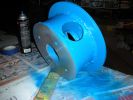
Motor-Motor mount finished3087 viewsPainted all pretty
|
|

Position motors10476 viewsMotors were mounted to the transmission, then lifted in from below.
Transmission was then bolted to it's mounts, and the motors placed on blocks to keep everything in position
|
|

Building Motor Mounting Framework9520 viewsWe decided it was easiest to juts build the motor mounting framework in place. Carefully cut pieces and clamp them in place, then tack weld it all together.
|
|
|
|