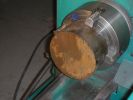
Starting the Flywheel adapter3310 viewsThe flywheel adapter started as a big chunk of steel.
|
|
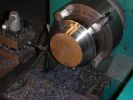
Flywheel adapter work2538 viewsWe continue cutting
|
|
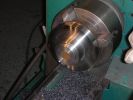
Flywheel adapter work contd2306 viewsThe back of the adapter is almost done, getting ready to bore the hole.
|
|
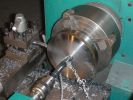
Flywheel adapter boring shaft hole2641 viewsWe start the boring process using a big drill bit.
|
|
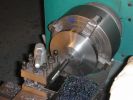
Flywheel adapter boring shaft hole contd2712 viewsAnd finish the hole using a boring bar
|
|
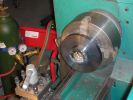
Flywheel adapter - oops, hole too big2346 viewsWe didn't read the caliper quite correctly, and accidentally bored the mounting hole for the pilot bearing a bit too big. (20 thousandths or so)
So we brazed in some metal and had to re-do that hole.
|
|
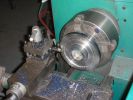
Flywheel adapter - finishing it up2547 viewsWe've cleaned up the pilot bearing hole, and are finishing the surface to the thickness needed.
|
|
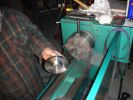
Flywheel adapter - finishing with the lathe2513 viewsFinished the lathe work, just needs drilling now.
|
|
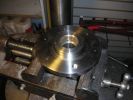
Flywheel adapter - drilling holes2621 viewsDrilling and tapping the holes to bolt it to the flywheel.
|
|
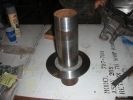
Adapter Plate alignment2321 viewsI had a big aluminum plate made into a bell-housing adapter plate, and another big aluminum plate for the Impulse 9 motor.
In order to get everything lined up with the transmission shaft properly, we built an alignment tool.
It fit snugly into the hole in the bell housing where the transmission mounts, and was the same diameter as the centering ring on the motor.
|
|
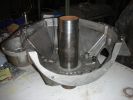
Adapter Plate alignment, contd2415 viewsHere the alignment tool has been pressed into the bell housing.
|
|
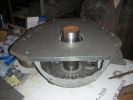
Adapter Plate alignment, contd 22193 viewsThen we mounted the Bell Housing adapter plate.
|
|
|
|