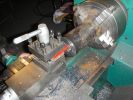
Starting the 1st version of the Motor Coupler4960 viewsHere we are starting work on the first version of the coupler to connect the 2 Impulse 9" motors.
This is going to be a single piece coupler that press-fits on both shafts.
|
|
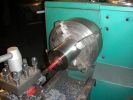
Boring the hole in the motor coupler2635 viewsHere we are boring the hole for the motor shaft. 1/2 the hole has to be a larger diameter since it's coupling a tail shaft to a main shaft.
|
|
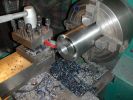
Finishing the coupler2571 viewsHere we are putting the step in one end of the coupler so it can fit down into the end-bell of the motor.
|
|
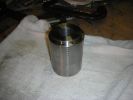
Finished Coupler3702 viewsThe finished coupler. (Well, I did have to have 2 keyways cut into it, and drill some holes for set screws after this.)
|
|
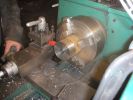
Starting the 2nd version of the Motor Coupler2508 viewsAfter our near-disaster with the 1st motor coupler, we decided to build the new one as a 2 piece unit. This will allow the motors to be separated if needed.
|
|
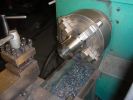
Motor coupler work2320 viewsContinuing work on the coupler
|
|
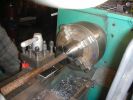
Boring coupler shaft holes2260 viewsThis time we wanted to be SURE our boring bar wouldn't flex, so we built a much stronger one.
We also are using much better cutting tips.
|
|
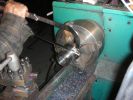
Shortening the coupler2241 viewsWe did start with a piece of shaft that was too long, and decided it would be easier to cut off the excess with a saw, rather than cutting it all away with the lathe.
|
|
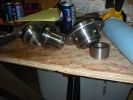
Finished Couplers and Flywheel mount2509 viewsThese are the finished couplers and the Flywheel mount.
|
|
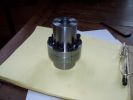
Finished and drilled couplers3474 viewsThis is the finished coupler assembly with all the screws that will be used to hold them together.
|
|
|
|
|
|